

The best car I ever owned was a brick red 1970 Karmann Ghia convertible. It wasn't fast, but it did most of what a pricey roadster did at a fraction of the cost. And because it wasn't a museum piece, I was free to make any modifications that I saw fit -- such as adding a chrome gas pedal in the shape of a bare foot. I have similar emotions about my favorite used tools. And while I won't be painting any flames on the side of a Stanley #1, I will do what it takes to modify things to make them fit my style.
Enter the Stanley 2246 mitre box.
Christopher Schwarz, (a man who is apparently not above decorating the sides of planes!) has been making it rain around the value of these fairly workaday tools. Every time I looked for one on ebay, the winning bid was outrageous (My ebay account is still watching a box that went for $387.00.) So his latest musings, imploring us to get off our butts and look for them in person, was a stroke of the bleedin' obvious

Right on cue, I stumbled upon a well-used Stanley 2246 in my super-secret antique tool shop. All the mechanisms worked great and the price, including a non-descript 27" saw (Disston, a division of Porter Co.) was less than the shipping price of many I've seen online. And because it was missing a few bits and bobs, I had no qualms about customizing this little beauty.
My goal is simple -- I want to get that blasted chop saw out of my machine tool room. Even by my pretty loose standards it is too loud, takes up too much space, and belches forth way too much dust to rationalize its existence. It has a home waiting for it in the garage. But in order to make this happen, I need to make the new saw accessible, versatile, and able to do everything that the electric version does today. So here goes . . .

The first step is to get rid of the bright red, balsa-wood top that comes standard. I want to be able to support slightly longer stock on a wider base. I decided to use white oak as that's what I have lying around. The 2246 has two holdfasts that slide across the top in order to secure pieces during the cut. While I'm not sure of the real utility of that, I didn't want to abandon the idea completely. Instead of two, I opted to go with one (on the left side) and I decided to fashion it from oak and cherry to replace the pitted steel original. (I can easily add the other if it seems useful.) I also switched from a thumbscrew to a purpose built cam clamp to add a bit of grip to the holdfast.

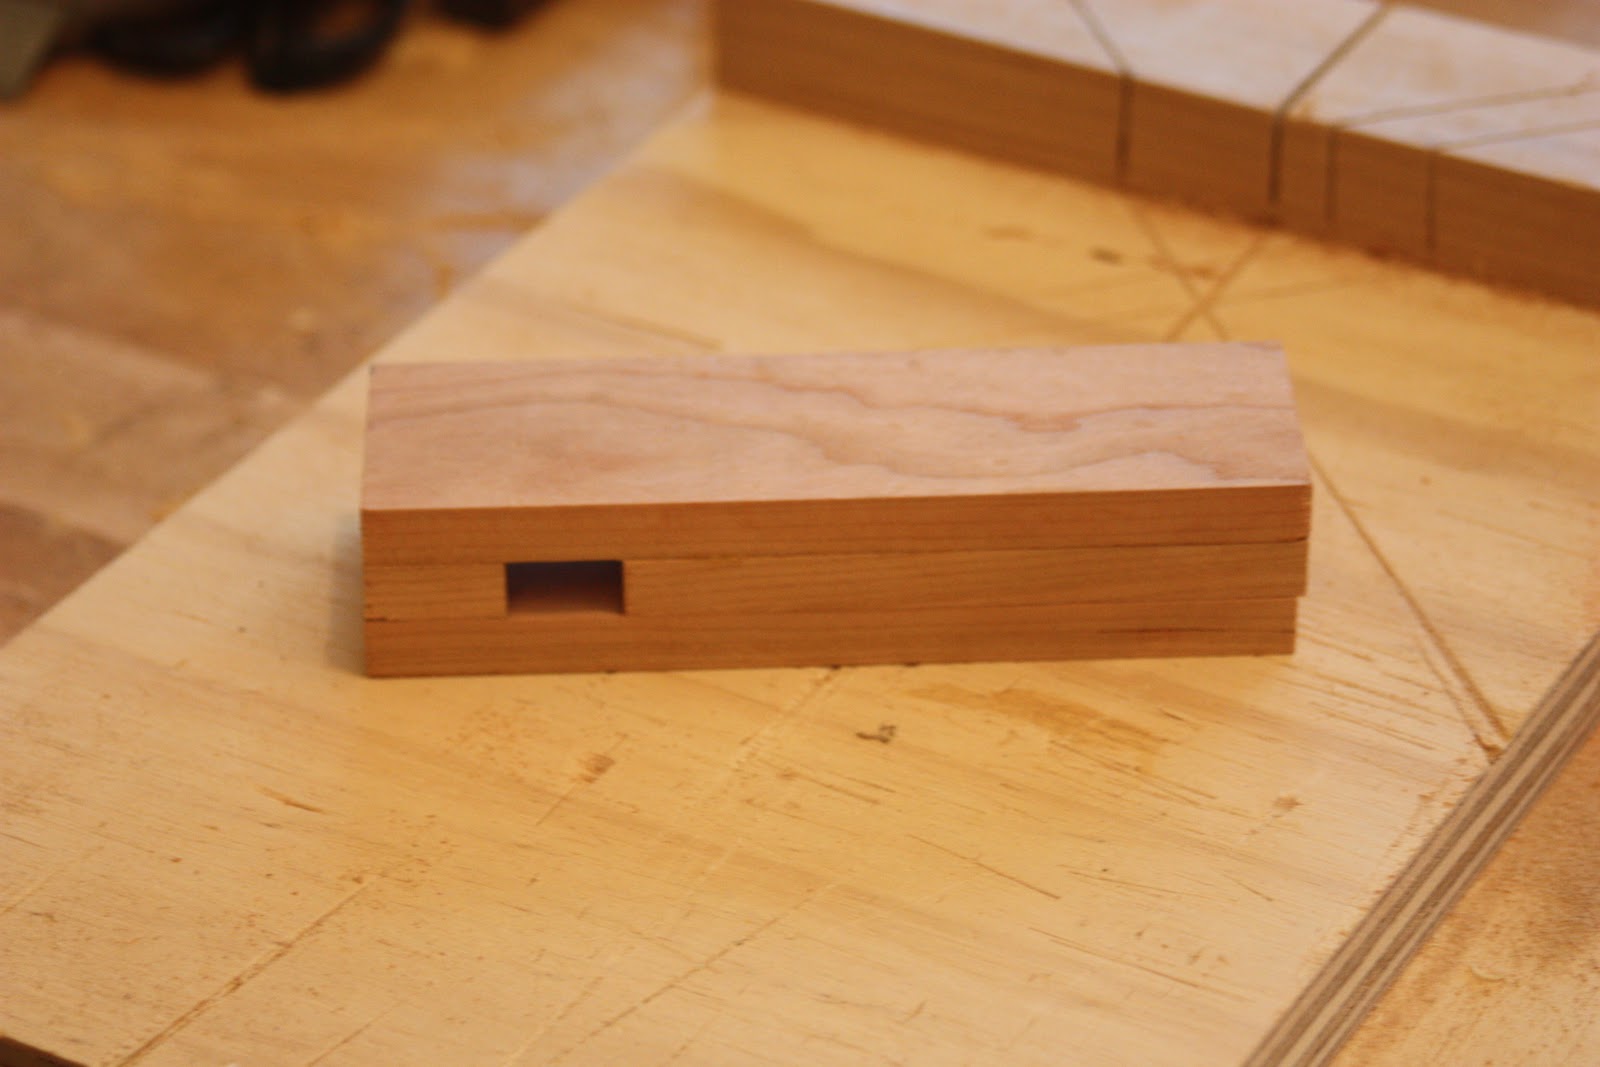
The plans for the shop made cam clamps came from a helpful article written by Sam Howe. I modified this just a bit, using a wooden clamping bar and doing a glue-up of 3/8" cherry for the body. It will be interesting to see how these hold up. I won't go into too much detail on the construction, as I plan to do a full post on the clamp construction in January. Once completed, the clamping mechanism looks something this.


Next, I wanted to deal with the grubby grey paint that adorned the top half of the cast iron body. Traditionalists look away, as I'm about to make you sick. After a quick scrub down I gave it two coats of Rustoleum's "Hammered" grey finish. I think it looks pretty spiffy, and I must say that I would consider this (in black) if I wanted to dress-up a low grade plane with some faux "japanning". I'm leaving the black portions "as is" (even I have my limits.)

As luck would have it, just as I started thinking about the saw, I read a post from Bob Rozaieski at Logan Cabinet Shoppe that he was getting into the saw sharpening business. I like his blog, and interactions with him are always pleasant. So, after some back and forth about fleam and rake, this blade (and another carcass saw) was on its way across the Delaware River for sharpening. The cheap handle on the saw was stained, so off it came. Unfortunately a chisel and saw came into play, which means that I'll making a handle in next week's post.

I'm convinced that the success of this tool, for a lazy man like me, will depend on whether it stays close at hand. If I have to lug it out from under the bench every time, I'll pine for the old chop saw. Likewise, if I can't set it up for repetitive cuts (such as making rails and stiles), it will become a bore. So my task between now and next Sunday is to get a good start on a new handle, and come up with a good way to mount this on my bench. And that's where I'll pick up.
As always, improvements, comments and questions are always welcome. Thanks for reading!

I Chris, good for you on the mitre box. I'm still looking for one, and here in my neck of the wood, it could well take a long time befor I find one worth buying...
ReplyDeleteAs for the "hold fast", I think they were there to hold Crown molding in place wile cuting, since you have to hold them at 45 degrees to make the cut!!
Cheers
Ahhh. . . That makes perfect sense. Here I was thinking "How can they get any pressure on the stock with this thumb screw? This gives me something to think about as I move forward.
ReplyDeleteThanks for the heads up!
Interesting post on the miter box-I'll look forward to the next update. I was going to comment on the crown molding stock guides, but David beat me to it. For holding flat work, most of these boxes came with threaded, pointed spurs on both sides of the fence, near the cutout for the blade, to grab the edge of the workpiece.
ReplyDeleteGreg -- You are absolutely right. The holes exist, but only one of the pointy screws. I'm going to rework this a bit, adding a dado and creating another wooden stock guide for the right side. Thinking about the physics, if needed support in one direction, securing these would do the trick. Creating and installing the little screws in the fence would secure it in the other direction. I'm just concerned that I will take a piece of stock, fully dimensioned, and scrape it along this screw point. I think half of my time planning things like this involves trying to protect me from myself!
ReplyDeleteYes, I would not use the screw points myself on a finished edge. For carpenter-quality work, or where the edge will still be worked with a plane, the points work fine. I seldom use the ones on my mitre box, nor do I often use the stock guides. I have a spare spur point for a Stanley-shoot me a mailing address and I'll drop it in the mail to you if you want it.
ReplyDeleteSpeaking of the stock guides, one thing that I forgot to mention is a trick that my grandfather showed me when he was the owner of my mitre box. He would use the stock guide between the workpiece and the fence, to set an angle that would otherwise not be possible alone by pivoting the swivel arm of the saw.
Greg- Thanks for the offer on the screw point. As I'm using a slightly thicker base, it throws the screw under the workpiece. I suppose that in a pinch, I could just use a clamp (or affix a piece of sandpaper to the fence) to make sure it doesn't move. But as most things like this go to the shooting board for a final edge, I think I'll be fine on whatever micron-sized movement occurs.
ReplyDeleteThanks for the tip on increasing the effective angle with the guide post, as well!
Super post. I really like your cam locking mechanism (especially the seventh photo). Your blog posts always feature worthwhile content.
ReplyDeleteNice looking box! One of these days I'm going to pick one of these up. I keep telling myself I don't really need one, but every once in awhile I wish I had one.
ReplyDeleteHi
ReplyDeleteGreat job, Can i ask what you used to clean up "Scrub" your box