

In many ways, making prairie-style furniture is like building a series of cabinet doors and sticking legs on them. It requires only the foundational skill of frame and panel construction. And because quarter-sawn white oak is fairly tough, some robust stationary equipment. I wouldn't want to contemplate building this as a hand tool project.

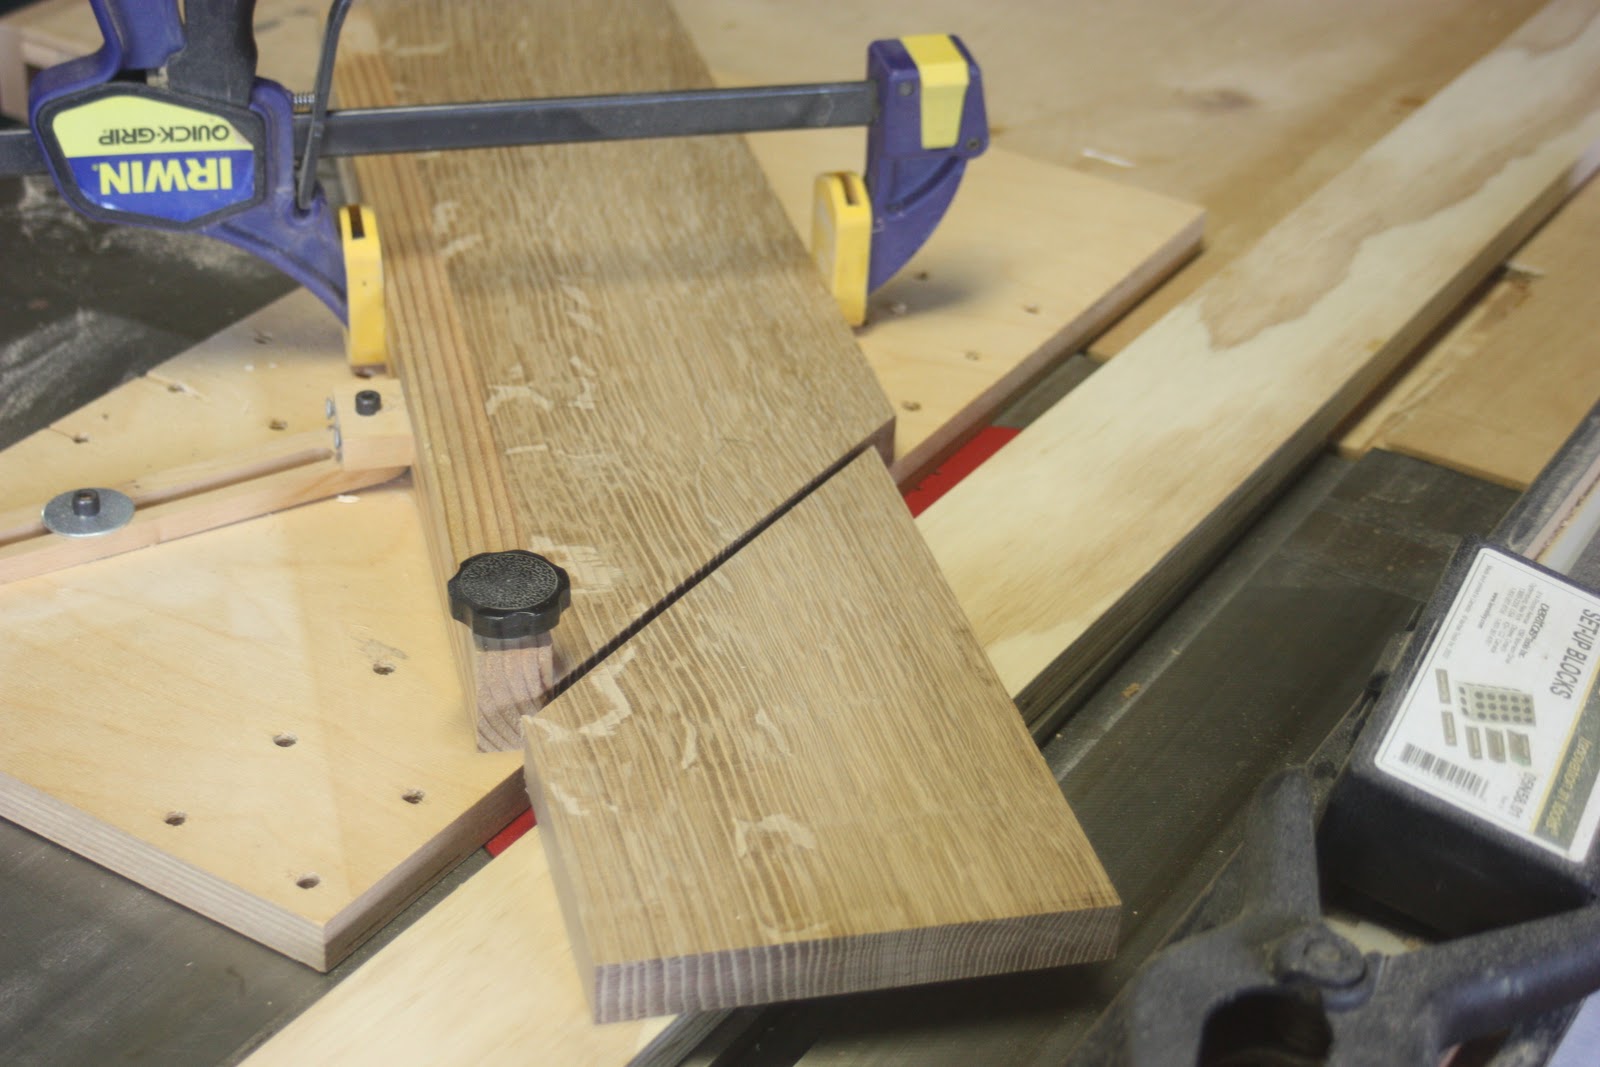
Setting the quadrilineal legs aside, I start by building the frames, and then building the panels to fit. I started with plans from Robert Lang, but have modified them over several iterations and worked out the bugs. All stock is 13/16" thick, and all grooves start at 1/4" wide by 1/2" deep. On my notes, I draw boxes around dimensions that are gross (including tenons) and then write tenon dimensions next to these numbers. To avoid confusion, I write the distance between tenons (the net dimension) in another place. The frames come together quickly and I dry fit them right from the machines. I've become increasingly fussy about keeping every machine in perfect alignment (and trust me this is not in my nature) and it saves so much time and frustration.
After selecting the second-best figure (I saved the best for the arms), I resaw the panels right from stock that has been made square and true from 4/4 stock. I want to net out something above 1/4" for each panel. You may well need all that extra thickness as qswo will warp a great deal after it is resawn. I've found that working with stock to net two doors at a time (30" or so works best for me.) Resaw, joiner, planer and set aside. Joint the edges and bookmatch.
Once the glue has dried, I bring out the beast.

I bartered this from another woodworker who thought he'd use it a lot, but didn't. All it cost me was several days of hair-raising, high-wire act ceiling installation. Moving very slowly, with 80 grit paper, I achieve a "uniform scratch pattern." It is amazing how quickly the finish sanding goes when you use this to true up the surface, don't skip grits, and sand two panels at a time.


I generally stain panels before construction to avoid having white wood expose itself in the middle of winter, and as it is so humid right now, that is a necessity.

My handy angle block tells me everything is cool -- but I knew this already as I had made a test cut. Someday I will have a Lie-Nielsen No. 51 and I'll be able to fine tune this with a clearer conscience. But I don't see that happening soon.
Now, I pretty much have all the pieces ready, and it should look like a chair within the next few days. Cheers!

I'm not normally a fan of American white oak, but your quartersawn stuff looks very well.
ReplyDeleteI'm more envious of your wide sander – which appears to be roughly the same size as my workspace.
I find that finding the right figure on QSWO is the challenge -- some figure present but not too gaudy. That being said, after a project like this I'm usually ready to move on to cherry or walnut.
ReplyDeleteThe sander is impressive, but changing grits is nuisance! I must say I use it rarely. I suppose if I start making Shaker boxes it will come in handy.
Hi, good post. I have been thinking about this issue, so thanks for sharing. I will definitely be coming back to your blog.
ReplyDeleteI like yout post, and thanks for your share
ReplyDelete